

Stroke Index 10

Stroke Index 11
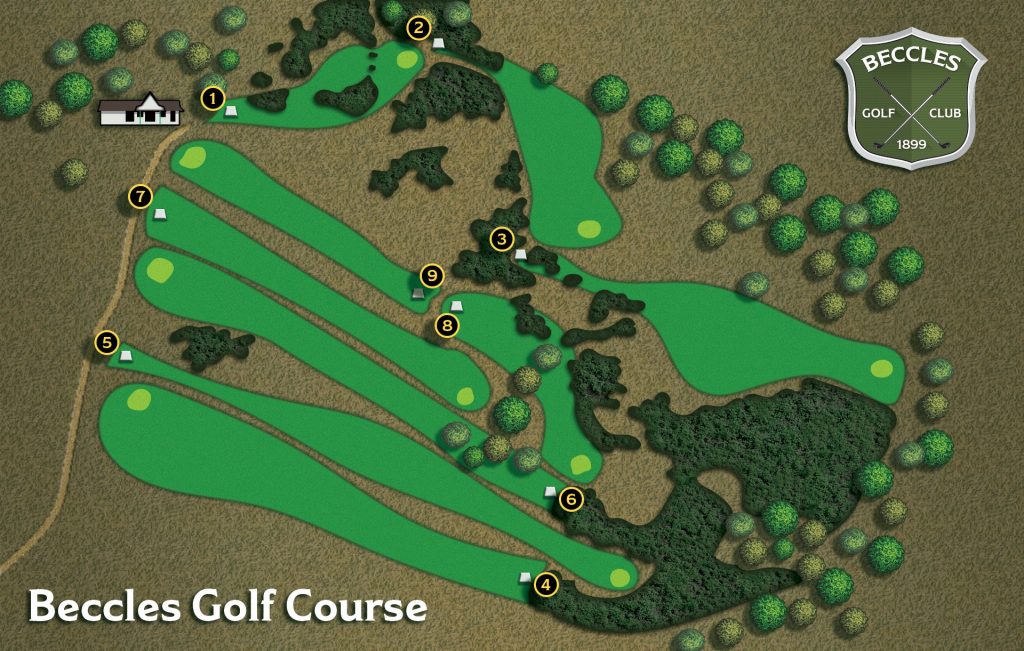
A tricky opening hole requires an accurate tee shot with a mid-long iron to ensure a carry of 140 yards. Danger short and right where gorse awaits.


Stroke Index 2

Stroke Index 15
A blind tee shot over gorse. A long iron to the middle of the fairway is a good option. Going for the green is fraught with danger with OOB on the right. A par here is a real bonus.


Stroke Index 12

Stroke Index 5
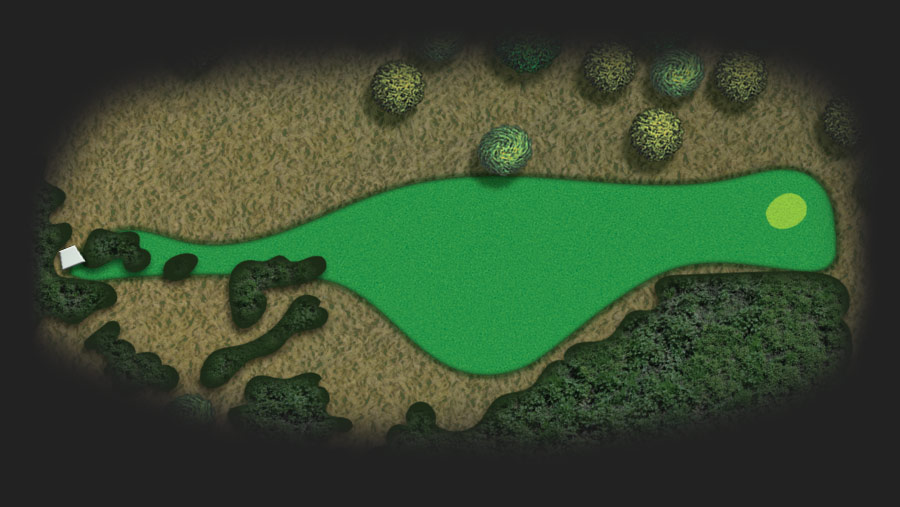
An accurate tee shot over gorse finishing on the wide fairway can give a 2nd shot to the green to gain your par. Beware gorse to the left and right of the fairway and OOB behind the green.

Stroke Index 7

Stroke Index 3
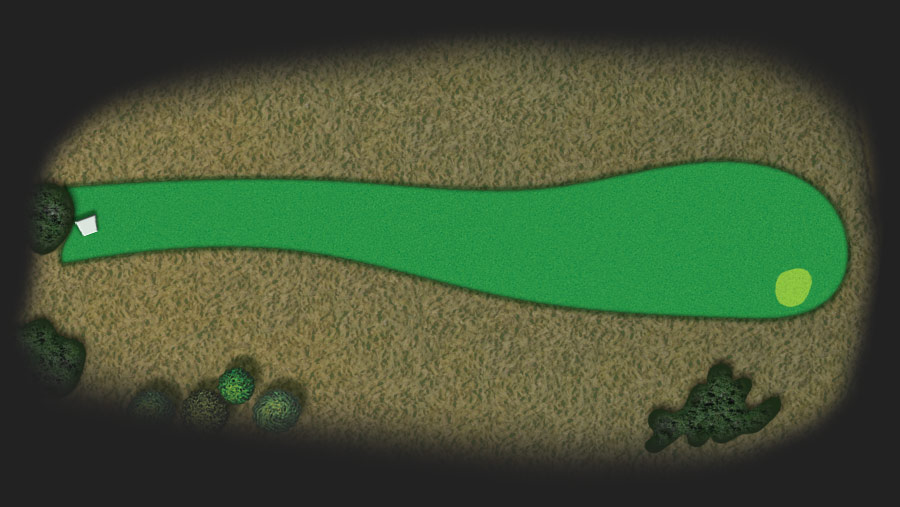
A large target off the tee and a well struck drive to the fairway will put the green in range with your 2nd.

Stroke Index 5

Stroke Index 1
This Par 5 requires an opening drive over gorse and a carry of 150 yards. A well placed 2nd will then demand an accurate 3rd shot straight down the middle to the green. Gorse awaits the errant 3rd shot to the left and right with OOB behind the green. Get your Par and get to the next hole with a smile on your face. This hole has wrecked many good rounds.


Stroke Index 3

Stroke Index 7
Playing the tee shot as a slight dog-leg right will avoid the trees and gorse. A high carry of 170 yards if you go straight. Still a good 2nd required to gain your Par.


Stroke Index 16

Stroke Index 13
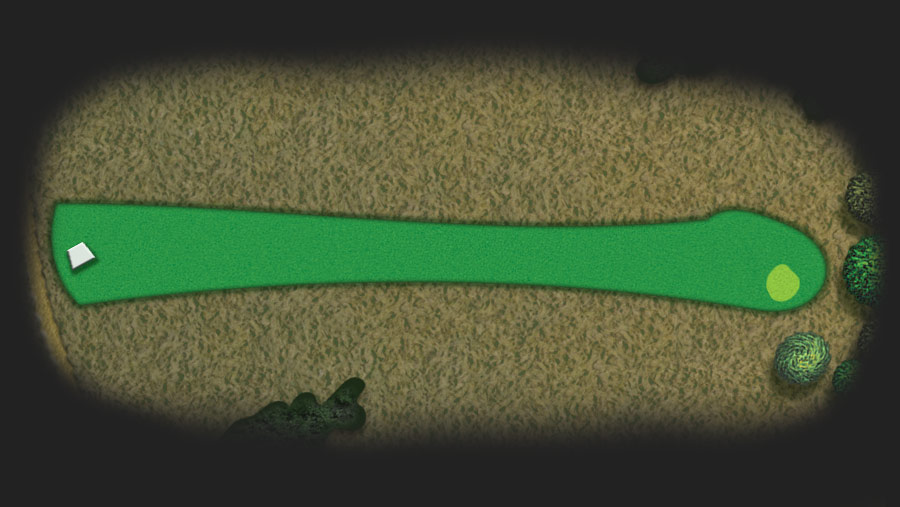
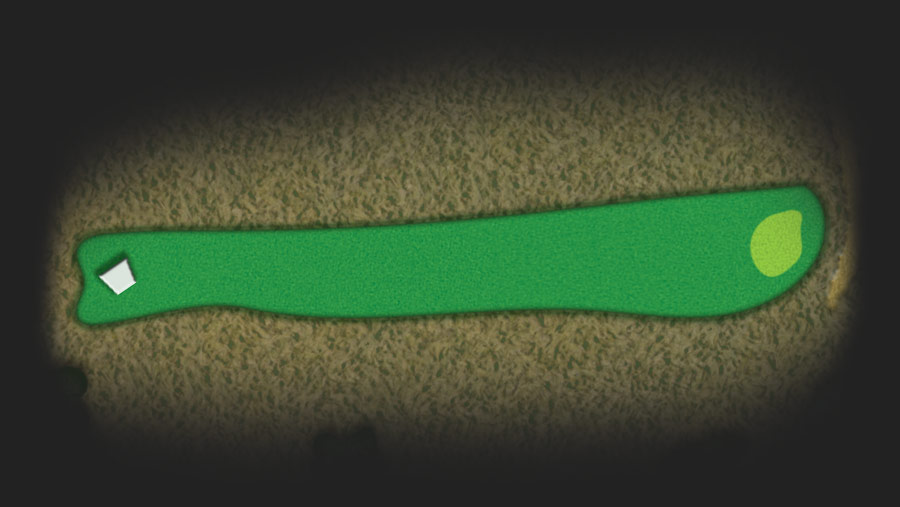
A straight drive should leave an easy 2nd to the green. A good opportunity for a Par or better here.

Stroke Index 17

Stroke Index 17
A short iron over gorse with OOB tight left requires an accurate tee shot. Should be a good chance of a Par.


Stroke Index 11

Stroke Index 9
A wide open fairway after carrying the gorse will reward the straight hitter. Danger lies if the drive is too far right. A 2nd shot into the bowled green could bring it’s rewards.


Stroke Index 9

Stroke Index 12
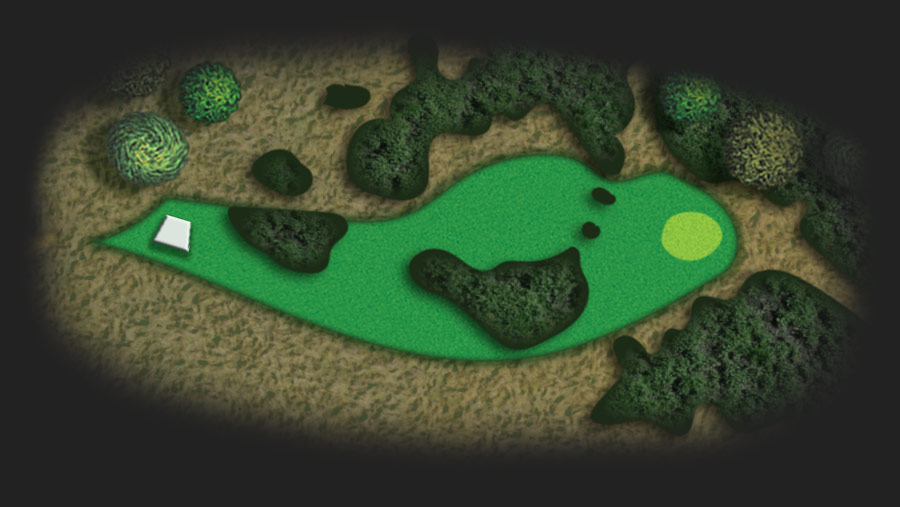
Just as tricky as Hole 1 with an accurate drive over gorse and a carry of 140 yards.

Stroke Index 13

Stroke Index 16
A long straight hit to the green with trouble left of the green. Get a Par here.

Stroke Index 1

Stroke Index 6
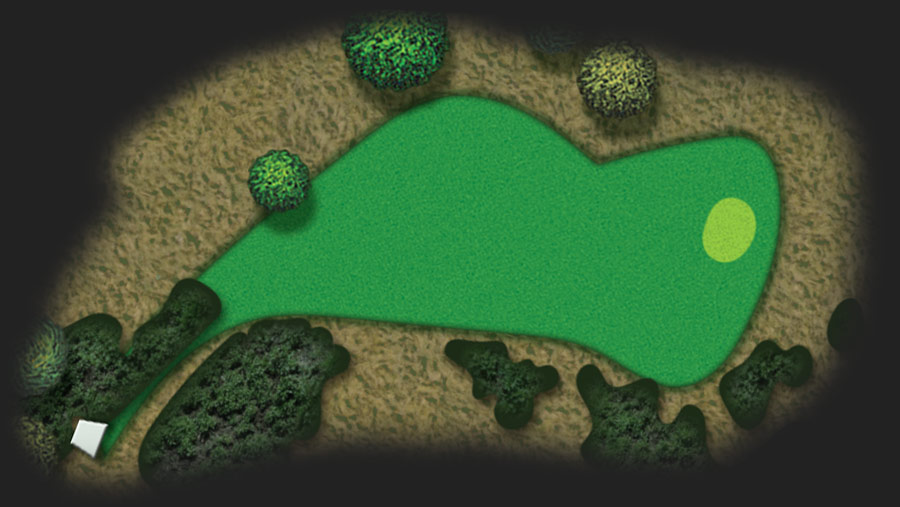
A good drive over the gorse is essential. The right is fraught with danger with a carry of 180 yards required to clear the danger. Keep down the middle or slightly left. The 2nd shot needs to be accurate as gorse awaits the errant shot left and right. Get a Par here and enjoy the walk to the next tee.


Stroke Index 6

Stroke Index 4
A Drive down the middle of the fairway will leave a long shot to the green. Little danger on this hole but not an easy par.


Stroke Index 8

Stroke Index 4
An easier drive than first time round but the rest of the shots to the green require accuracy. Don’t try to be too greedy on this hole and play with caution.


Stroke Index 4

Stroke Index 8
You’ve played this one before so you know what to expect.


Stroke Index 18

Stroke Index 14
You can open your shoulders on this one to get as far down the fairway as possible to leave a shorter iron into the green. Get your par and move on.


Stroke Index 15

Stroke Index 18
An extra club might be required this time from the back tee. A shot finding the green should give you your par.

Stroke Index 14

Stroke Index 10
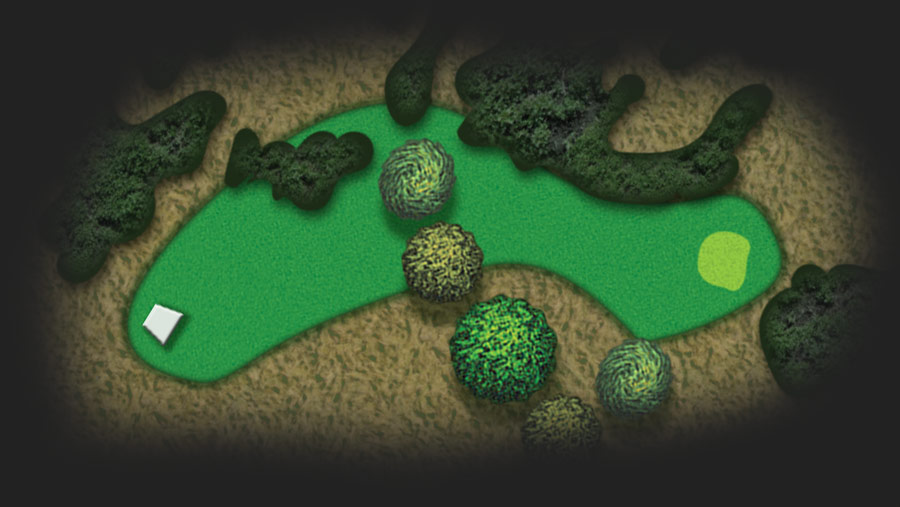
The home hole . Hit the fairway with your drive. Great 2nd shot to the green. Take your two putt par or better and look forward to your next round.
There are competitions every week, of which a high percentage are handicap qualifiers. The course is normally restricted to members on Saturday mornings for competitions. During the Summer months there are 9 hole competitions on Sunday morning and Wednesday afternoon. The course is open from 8am till dusk and all visitors are welcome but we do ask that all consideration is given to the other common users.
The WHITE competition tees are par 68 with a Course Rating of 65.1 and a Slope Rating of 102.
The YELLOW tees have a Par 68 with a Course Rating of 63 and a Slope Rating of 95.
Please contact the Club Secretary on 01502 712244 or 07711 591604 for further information.